Want to save on your energy bills and make your home more eco-friendly? Here are some simple DIY energy efficiency projects you can tackle this weekend! These projects are affordable, don’t require advanced tools, and can make a noticeable difference in your energy consumption. Let’s dive in.
1. Seal Air Leaks
Air leaks around windows and doors can waste a lot of energy by letting warm or cool air escape. Sealing these leaks is a quick and easy job that will improve your home’s energy efficiency. Here’s how to do it:
- Tools: Caulk gun, weatherstripping, door sweeps, foam tape
- Steps:
- Check for drafts around windows and doors by feeling for airflow or using a lit candle.
- Apply caulk around window frames and door trims where gaps exist.
- Install weatherstripping around door edges and add a door sweep to the bottom of exterior doors.
Time: 1-2 hours
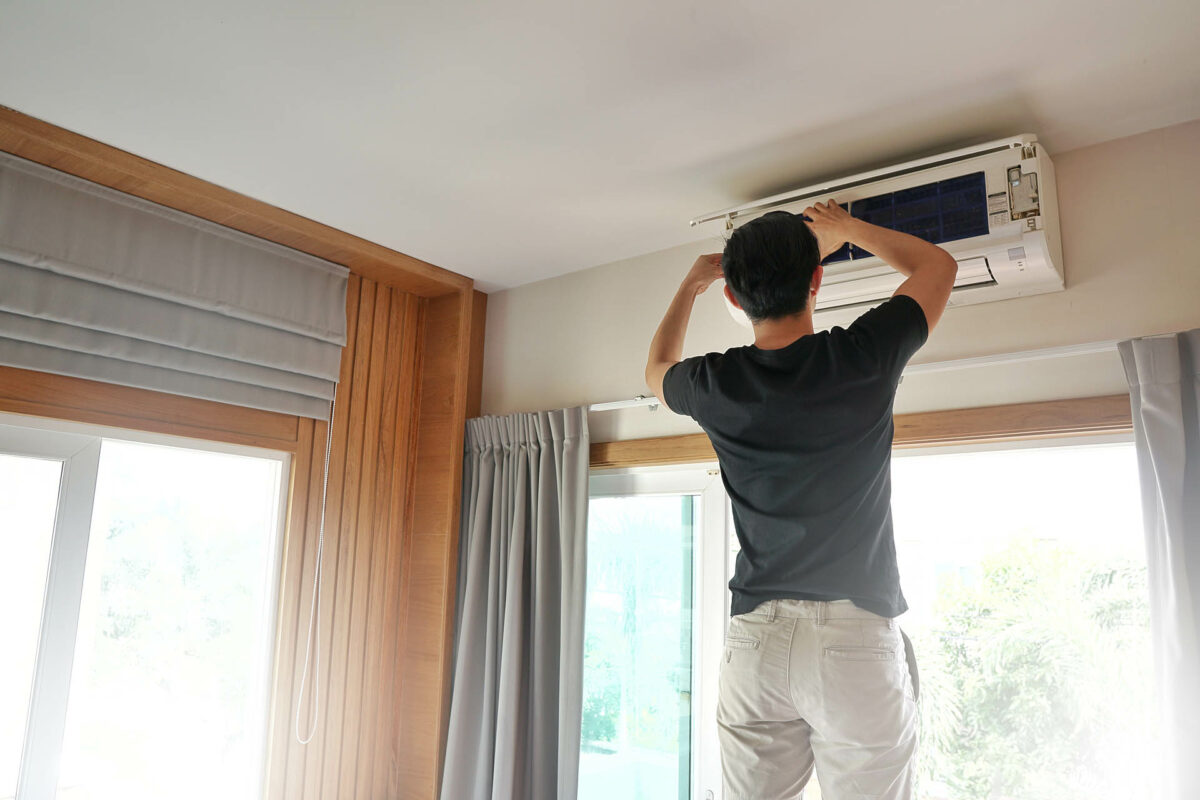
2. Install a Programmable Thermostat
A programmable thermostat lets you set a heating and cooling schedule so you don’t waste energy when you’re not home or while sleeping. Many modern thermostats are easy to install and pay for themselves quickly.
- Tools: Screwdriver, possibly a drill
- Steps:
- Turn off the power to your HVAC system.
- Remove the old thermostat and follow the instructions provided with your new one for installation.
- Program it based on your routine—for example, setting it to lower the temperature at night or when you’re at work.
Time: 1 hour
3. Replace Light Bulbs with LEDs
LED bulbs use up to 75% less energy than traditional incandescent bulbs and last much longer. Switching to LEDs can reduce your electricity use for lighting, which accounts for about 10% of your energy bill.
- Tools: Just your hands
- Steps:
- Identify high-usage light fixtures (like kitchen or living room lights).
- Replace incandescent or CFL bulbs with LED bulbs. Choose the right color temperature for each room—cool white for task lighting or warm white for cozy spaces.
Time: 30 minutes
4. Advanced Energy Storage Solutions
If your water heater feels warm to the touch, it’s losing heat and wasting energy. You can easily insulate it with a special water heater blanket.
- Tools: Insulating blanket, scissors, tape measure
- Steps:
- Buy an insulation kit designed for water heaters.
- Measure your water heater and cut the blanket to fit.
- Wrap the blanket around the water heater, securing it with tape. Avoid covering the thermostat or burners.
Time: 1 hour
5. Add Insulation to Attic Hatch
Your attic hatch is often overlooked but can be a big source of heat loss. Adding insulation here is simple and effective.
- Tools: Foam board insulation, adhesive
- Steps:
- Measure the size of your attic hatch.
- Cut foam board insulation to fit the hatch cover.
- Attach the insulation to the hatch with adhesive or tape to seal gaps.
Time: 30 minutes
6. Install Low-Flow Showerheads
Low-flow showerheads reduce water usage and the energy needed to heat that water, which can lower both your water and energy bills.
- Tools: Wrench, plumber’s tape
- Steps:
- Unscrew your old showerhead with a wrench.
- Apply plumber’s tape to the shower arm threads to ensure a leak-free fit.
- Screw on the new low-flow showerhead and tighten it.
Time: 15-30 minutes
7. Upgrade to Energy-Efficient Power Strips
Many devices use power even when they’re off. An energy-efficient power strip helps eliminate this “phantom” power drain by automatically cutting power when devices are not in use.
- Tools: None
- Steps:
- Plug your electronics (like your TV, gaming console, or computer) into an energy-efficient power strip.
- Turn off the strip when you’re not using those devices.
Time: 10 minutes
These DIY projects can be done over a weekend and will immediately start reducing your energy usage. By making these small changes, you’re not only saving money on your energy bills but also contributing to a greener planet. Plus, the satisfaction of improving your home yourself is always rewarding!
Happy DIYing!